
If you are interested to print crisp text as well as vivid color photos then you must prefer to use original ink cartridges supplied by HP. You need to select your cartridge size so that they can match your printing budget as well as volume.
A good reason to buy HP 67 black original ink cartridge from Need More Ink is that you will be able to print almost double the pages that you can do with any refill option and also you can get a vivid color image of any colored photographs.
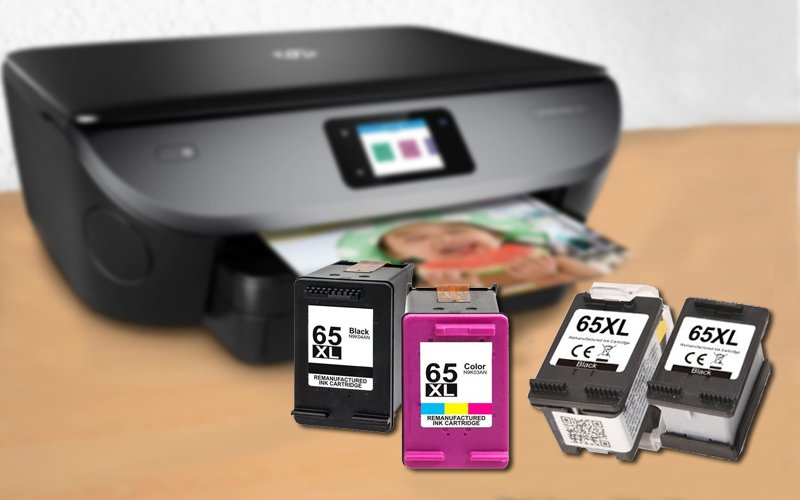
This HP cartridge series may consist of 2 cartridges, one is black while the other is tri-color.
The black ink cartridge will use pigment-based ink that can quickly get dried up and will be resistant to fading. While the tri-color cartridge ink will contain all 3 colors e.g., cyan, yellow, and magenta.
How you can install your HP 67 ink cartridge
Having learned brief information about HP 67 cartridge, now let us try to know how you can install your HP 67 cartridge. We will explain the total installation process in step-by-step manner.
We shall use HP 6055 printer as an example to explain the procedure. You can also follow a similar procedure in other printers too by referring to its instruction manual. Most of these printers will be compatible with this type of ink cartridge.
- Take your new HP 67 cartridge from the box and then remove its plastic wrap. You must keep your trash bin nearby as, during your next step, some of the ink may get escaped from your cartridge while installing.
- Now just pull off the tape (orange colored) that is on one side of your cartridge and then throw it in the trash can. This will expose the vent hole, which is on one side of your cartridge so it will be able to function properly in the printer.
- As you are getting ready with the cartridge, you must make sure that you do not touch the gold-plated contact points. These are electrical connection points with your printer. If your fingerprints, oil, or any residue gets deposited on these contacts then the contact will be poor.
As a result, possibly you may end up getting a faulty reading, particularly in your printer. Also, you must clean these contact points by using any lint-free cloth.
- Now you can open your top cover of the printer and wait till the cartridge goes to the center and then lift it up on your latch that must be cradling your cartridge and then gently pull out your cartridge for removing it from your printer.
- After that, slide your new cartridge into the empty slot and then pull the latch over the cartridge and ensure that it is secure.
- Finally, you can close up your top cover and then wait a few minutes for your printer to get initialized. You are done and now you can print.
We hope this will help you to install your printer cartridge next time.